A successful arrangement transforms a melody into a new textural organism, not just a note-for-note transcription.
- Instrument choice is dictated by timbral color and spectral weight, not just pitch range.
- Harmonic recontextualization—changing the chords beneath a melody—is the most powerful tool for altering emotional mood.
Recommendation: Start thinking of your arrangement as a conversation between instruments, where each voice contributes to a cohesive new sonic identity.
Taking a beloved pop melody and imagining it played by a string quartet is a common creative spark. Yet, the result often falls flat, sounding like a hollowed-out version of the original rather than a vibrant new creation. Many musicians believe the key lies in simply respecting an instrument’s range or transcribing the rhythm accurately. They diligently check that the violin part isn’t too low or the cello part too high, but the magic remains elusive. This approach misses the fundamental truth of orchestration.
The art of arrangement is not a mechanical process of transcription; it is an act of translation and reinvention. It’s about deconstructing a melody to its emotional core and then rebuilding it within a completely new sonic ecosystem. A truly great arrangement considers the unique voice, color, and textural weight of each instrument. It understands that a cello doesn’t just play « lower notes » than a violin; it speaks with a different soul. The secret lies in moving beyond the notes on the page to sculpt a new harmonic and textural organism.
This involves understanding the psychoacoustics of how sounds blend, the emotional power of harmonic recontextualization, and the rhythmic DNA that defines a genre. Instead of just asking, « Can this instrument play this note? » the master arranger asks, « What does this instrument say when it plays this note? » The goal is to create a piece that feels not just adapted, but entirely reborn in its new instrumental context.
This guide explores the core principles that separate a mechanical transcription from a living, breathing arrangement. We will delve into the textural properties of instruments, the laws of harmonic motion, and the techniques used to completely transform a melody’s character, providing you with the tools to create arrangements that are both technically sound and emotionally resonant.
Summary: The Arranger’s Art: Adapting Melodies for Different Instrumentation
- Violin vs Cello: Knowing the Limits of Each Instrument
- Avoid Parallel 5ths: Why Smooth Voice Leading Sounds Better
- Changing the Mood: Putting a Sad Melody over Jazz Chords
- Thin vs Thick: Balancing the Frequency Spectrum
- Pop to Reggae: Adapting the Rhythm Section for Style Change
- Flute and Oboe Unison: Creating New Textures through Doubling
- Slash Chords: Making Your Piano Parts Sound Pro
- How to Arrange for Orchestra Using Digital Libraries?
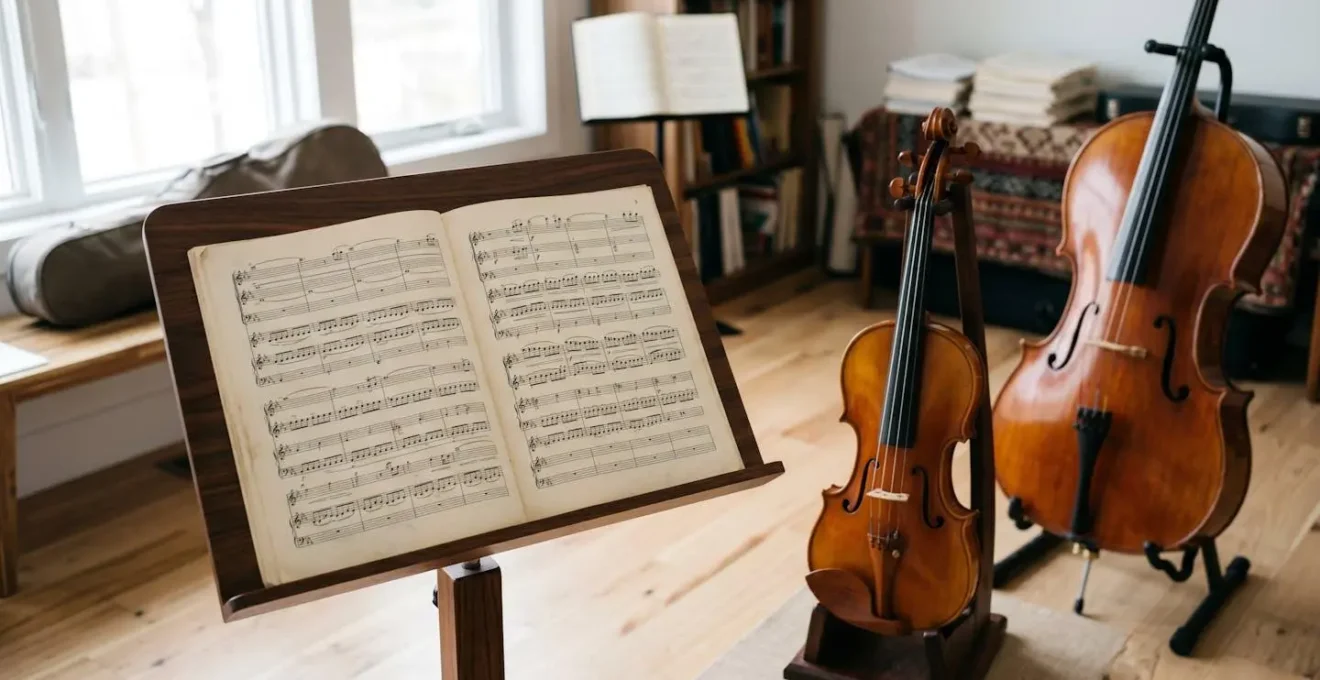
Violin vs Cello: Knowing the Limits of Each Instrument
The first step in any arrangement is understanding the tools, but this goes far beyond a simple chart of high and low notes. While it’s true that you must respect an instrument’s physical range, the real art lies in understanding its timbral soul and spectral weight. For instance, audio engineering analysis shows that violins span from 196 Hz (G3) to over 4,000 Hz, while cellos occupy a lower space from 65 Hz (C2) to around 987 Hz (B5). However, these numbers only tell part of the story. The true character of each instrument is revealed in where its sound energy is concentrated.
An instrument’s body size and construction create a unique « acoustic fingerprint. » It’s not just about the fundamental pitch being played, but the complex series of overtones that the instrument’s wooden body chooses to amplify. This is what gives an instrument its unique color and texture. A violin and a cello playing the same exact note (where their ranges overlap) will still sound profoundly different because their resonant priorities are not the same.
This is where the concept of spectral weight comes into play. According to in-depth acoustic analysis from the Martin Schleske Master Studio, the violin’s primary resonances create a « spectral center of gravity » around 1,250 Hz, which our ears perceive as brilliance and presence. The cello, with its larger body, concentrates its resonant energy in the lower frequencies (65-200 Hz), creating the sensation of warmth and body. When arranging a pop song for a string quartet, giving the main melody to the first violin will lend it a singing, prominent quality, while assigning the same line to the cello will give it a grounded, melancholic weight. The choice is not about range, but about emotional and textural intent.
Avoid Parallel 5ths: Why Smooth Voice Leading Sounds Better
After selecting your instruments, the next challenge is making them move together gracefully. A common pitfall for aspiring arrangers is writing parts that, while harmonically correct on paper, sound clunky and disjointed in practice. This is often due to poor voice leading, the art of guiding each melodic line smoothly from one chord to the next. One of the oldest and most important rules in this discipline is the avoidance of parallel fifths and octaves.
This isn’t just an arbitrary rule from dusty counterpoint textbooks; it’s rooted in psychoacoustics. When two independent voices move in perfect fifths or octaves, our brains struggle to perceive them as separate entities. The powerful harmonic relationship of the interval essentially tricks our ears into merging the two lines into a single, thicker sound. As the School of Composition explains, this phenomenon is a core concept in orchestration:
Parallel fifths and octaves cause ‘auditory stream fusion,’ making two distinct voices merge into one in the listener’s brain, thus thinning the texture and weakening harmonic interest.
– School of Composition, What is Wrong with Parallel Fifths?
Losing the independence of your voices is detrimental to creating a rich, multi-layered arrangement. If your cello and viola lines fuse together, you’ve effectively lost an instrument from your ensemble, resulting in a thinner, less complex textural organism. To maintain this crucial separation and ensure each instrument contributes its unique voice, arrangers use several classic techniques:
- Use contrary motion: If one voice moves up, have the other move down. This is the most effective way to assert their independence.
- Retain common tones: When changing chords, keep any shared notes in the same instrument/voice while the others move. This creates a smooth anchor point.
- Insert passing or neighbor tones: Briefly break up the parallel motion with a non-chord tone. The perfect interval disappears for a moment, and the illusion of fusion is broken.
Changing the Mood: Putting a Sad Melody over Jazz Chords
Perhaps the most transformative tool in an arranger’s kit is harmonic recontextualization. This is the art of taking a melody and completely changing its emotional character by altering the chords underneath it. A simple, cheerful melody can be rendered melancholic, tense, or heroic simply by reframing its harmonic environment. This technique demonstrates that a melody’s mood is not inherent to the notes themselves, but is a product of its relationship with the harmony supporting it.
Imagine a simple, sad melody in C minor. If you arrange it over a lush bed of major seventh and ninth chords typical of jazz, the mood shifts from simple sadness to a more complex, bittersweet nostalgia. The melody’s « sad » notes (like the minor third, Eb) are no longer just sad; they become colorful extensions (the minor third of C is the major seventh of an F major chord), adding a layer of sophistication and emotional ambiguity. You haven’t changed a single note of the melody, but you have completely changed what it *means*.
One of the most famous examples of this is John Coltrane’s radical transformation of « My Favorite Things. » He took a famously cheerful, almost simplistic Broadway tune and turned it into a hypnotic, meditative jazz exploration. He achieved this by stripping away the original, busy chord progression and replacing it with a minimal harmonic canvas of just two chords, E minor and E major. By holding these chords for long stretches (vamping), he created a modal landscape that allowed for extended, searching solos. This, combined with a waltz rhythm and the unique timbre of the soprano saxophone, completely recontextualized the melody, shifting its emotional arc from populist cheer to deep, spiritual introspection. It’s a masterclass in how harmony dictates mood.
Thin vs Thick: Balancing the Frequency Spectrum
The perceived density of a musical piece—whether it feels sparse and intimate or massive and powerful—is a direct result of how the arranger manages texture. Texture is woven from three threads: the number of instruments playing, the spacing of the notes (registral position), and the rhythmic complexity of the parts. A thin texture might feature a solo piano, with wide spacing between the left and right hands and a simple rhythm. A thick texture, by contrast, could be a full orchestra playing a dense chord, with many instruments layered in a tight formation and complex rhythmic activity across sections.
Mastering the balance between thin and thick textures is crucial for creating emotional dynamics in an arrangement. A sudden shift from a full ensemble to a single instrument can create a powerful sense of vulnerability or focus. Conversely, building from a thin texture to a thick one is the primary way to generate tension and excitement. It’s not just about volume (dynamics); it’s about the spectral weight and density of the sound itself.
This table, based on common principles in orchestration, breaks down the characteristics and impact of these two textural poles. As an arranger, you are constantly moving between these states to shape the listener’s psychological experience. As an analysis of orchestral textures shows, the registral choices and rhythmic density are as important as instrument count.
| Texture Type | Psychological Impact | Registral Characteristics | Film Score Examples |
|---|---|---|---|
| Thin Texture | Intimacy, vulnerability, focus, solitude | Wide spacing, few instruments, sparse rhythmic activity | Solo piano in emotional scenes, single melody line with minimal accompaniment |
| Thick Texture | Power, celebration, chaos, overwhelming emotion | Tight spacing, multiple instrument layers, high rhythmic density | Full orchestral battle scenes (Holst’s Uranus – 31 staves at ffff), climactic moments |
Pop to Reggae: Adapting the Rhythm Section for Style Change
When adapting a song from one genre to another, the most critical element to translate is its rhythmic DNA. A pop song’s identity is often built on a driving « four-on-the-floor » beat with a heavy emphasis on beats 1 and 3. A reggae song, however, derives its characteristic feel from a completely different rhythmic philosophy. Simply playing the pop melody over a generic reggae drum loop will sound artificial because the groove is more than just a pattern; it’s an interlocking system of rhythmic roles.
To genuinely transform a pop song into a reggae track, you must deconstruct and rebuild the entire rhythm section. The pop bassline, which likely plays simple root notes on the downbeats, must be completely rewritten. In reggae, the bass is a lead melodic voice, playing syncopated, conversational lines that weave around the drum pattern. The pop drum beat must be replaced with a pattern like the « one-drop, » where the kick drum and snare emphasize beat 3 (or beats 2 and 4), creating the signature laid-back, off-beat feel.
The harmonic instruments also need their roles redefined. The sustained pads or simple chordal accompaniment of the pop song are replaced by the reggae « skank » or « bubble. » The skank is a short, staccato chord played by a guitar or keyboard strictly on the off-beats, creating the classic « chick-a » sound. The organ bubble provides a continuous textural layer with its distinctive rotating speaker effect. Finally, the use of space echo and spring reverb becomes a compositional element, creating the vast, dubbed-out soundscape that is integral to the genre’s identity. These elements are not optional effects; they are core components of the rhythmic structure.
Action Plan: Capturing an Authentic Reggae Feel
- Establish the ‘one-drop’ drum pattern: Shift emphasis to beats 2 and 4 with the bass drum and cross-stick to create the characteristic off-beat feel.
- Redesign the bass as melodic and syncopated: Move beyond simple root notes to write conversational, rhythmic bass lines that interlock with the drums.
- Add the guitar/keyboard ‘skank’: Incorporate short, staccato chords played exclusively on the off-beats (the « and » of each beat) to complete the rhythmic trinity.
- Layer the ‘organ bubble’: Add sustained organ chords, often with a tremolo or rotating speaker effect, to provide a continuous textural bed.
- Apply space echo and spring reverb: Use these effects as compositional tools, especially on guitar skanks and snare hits, to create the spacious reggae soundscape.
Flute and Oboe Unison: Creating New Textures through Doubling
A powerful technique for creating unique sonic colors is instrumental doubling. This is more than just making a part louder; it’s a form of psychoacoustic fusion where the timbres of two different instruments blend to create a « third » hybrid instrument in the listener’s mind. When two instruments play the exact same melodic line in unison, their individual characteristics merge into a new, composite sound that neither possesses on its own.
A classic example in orchestration is the doubling of a flute and an oboe. The flute is known for its pure, airy tone, often described as « cool » and ethereal. The oboe, a double-reed instrument, has a more reedy, focused, and penetrating tone, often described as « warm » or nasal. When they play a melody together in unison, these qualities fuse. The oboe’s focus gives definition and presence to the flute’s airy sound, while the flute’s breathiness softens the oboe’s reedy edge. The resulting sound is a unique timbral color—richer than a solo flute, yet smoother than a solo oboe.
This phenomenon of creating a hybrid color is a cornerstone of orchestration. Composers use it to craft a vast palette of textures. Doubling a cello line with a bassoon adds a woody, reedy edge to the string sound. Doubling a trumpet melody with a xylophone creates a sharp, percussive attack. The effect also changes depending on the interval of the doubling. Doubling at the unison creates the tightest fusion and a new single color. Doubling at the octave adds breadth and power, making the line sound bigger and more majestic. Doubling at other intervals like thirds or sixths moves from textural fusion into the realm of harmonization, adding harmonic richness to the line.
Slash Chords: Making Your Piano Parts Sound Pro
One of the quickest ways to elevate a simple chord progression from amateur to professional is by using slash chords. A slash chord is a chord with a specific bass note indicated after a slash (e.g., C/G). This notation instructs the musician to play a C major triad in the upper register while playing a G note in the bass. This seemingly simple device is a powerful tool for creating sophisticated harmonic movement and smoother voice leading, especially in keyboard and ensemble arrangements.
The primary function of slash chords is to create independent bass motion. Instead of having the bass player or the pianist’s left hand simply jump from root to root (e.g., C to G to A), you can use slash chords to write a smooth, melodic bassline that moves stepwise. For example, the progression C – G – Am can be transformed into C – G/B – Am. The upper chords remain the same, but the bassline now moves smoothly from C down to B and then to A, creating a much more elegant and connected sound. This technique is fundamental to genres from pop ballads to complex jazz.
Slash chords are also essential for other advanced harmonic techniques. By using them, you can:
- Create pedal points: Maintain a single bass note under a series of changing chords (e.g., C/G – F/G – G). This builds tension and anticipation by grounding the harmony over a sustained anchor.
- Imply harmonic ambiguity: Using a non-chord tone in the bass can create interesting suspensions. For example, C/D doesn’t contain a D in the triad, but the combination strongly implies a Gsus sound, delaying the resolution and adding emotional depth.
- Orchestrate with clarity: This thinking translates directly to larger ensembles. In a string quartet arrangement, the C/G chord would be voiced with the cellist playing the G, while the violas and violins handle the C major triad above, ensuring clear separation and a professional orchestral sound.
Key Takeaways
- A great arrangement is a new textural organism, not a simple transcription of notes.
- Voice leading and harmonic choices are the invisible forces that dictate the emotional impact of a melody.
- Genre is defined by its rhythmic DNA; to change styles, you must rebuild the entire rhythmic foundation.
How to Arrange for Orchestra Using Digital Libraries?
In the modern era, the grand orchestra is accessible to any composer with a computer. Digital sample libraries offer stunningly realistic recordings of every instrument, but they also present a unique challenge: making the music sound human. A common mistake is to write a piece on a single piano track and then assign the notes to different instrument patches. This approach ignores the fundamental principles of orchestration and often results in a static, lifeless sound. The key to arranging for a virtual orchestra is to think like an orchestrator from the very beginning.
This means working with a template where each instrument section (1st Violins, Cellos, Flutes, etc.) has its own dedicated track from the start. This forces you to consider the unique role and capabilities of each part, just as a real orchestrator would. Instead of just writing chords, you’re writing interlocking lines and textures. To breathe life into these static samples, you must master MIDI CC (Continuous Controller) data. Controllers for Expression (CC11) and Dynamics (CC1) are not just for volume; they are for creating natural swells and falls within a single note, mimicking a player’s breath or bow control. Vibrato (CC21) can be automated to increase in intensity at the peak of a phrase, adding a powerful emotional arc.
Furthermore, professional virtual orchestrations rely on strategic layering. Don’t rely on a single library’s « full strings » patch. Instead, layer the sharp, aggressive *spiccato* (short, bounced bow) patch from one library with the warm, lush *sustain* patch from another. This creates a composite sound that is more complex, detailed, and realistic than any single patch could achieve. Finally, create a virtual soundstage. Use panning to place your instruments in their traditional orchestral positions. Use EQ to carve out frequency space for each section, preventing a « muddy » mix. Employ multiple types of reverb to simulate the early reflections, body, and long tail of a real concert hall, giving your arrangement a convincing sense of 3D space and depth.
Now that you are equipped with the core principles of textural, harmonic, and rhythmic arrangement, the next step is to apply them. Start with a simple melody you know well and begin experimenting. The path to mastery lies in practice, listening, and a willingness to transform the familiar into something beautifully new.