Your epic orchestral tracks sound flat and digital because you’re arranging instruments, not sculpting sound.
- True realism comes from mimicking the physical interactions and acoustic limitations of real instruments.
- Creating a single, cohesive « acoustic fingerprint » with reverb is more important than the cost of your sample libraries.
Recommendation: Shift your focus from what notes to play to how they are performed, blended, and placed in a virtual, physical space.
Every bedroom composer knows the feeling. You’ve invested in world-class sample libraries, you’ve sketched out a powerful melody, and you’ve laid down the chords. Yet, when you hit play, the result is disappointingly sterile. It sounds like a collection of pristine recordings, not a living, breathing orchestra performing in a magnificent hall. The common advice is to buy more expensive VSTs or to simply « layer more instruments, » but this often leads to a bigger, muddier mess, not a more realistic one. The sound lacks the visceral impact and emotional depth of a real film score.
The problem isn’t the quality of your tools; it’s the philosophy behind how you use them. Many producers treat digital orchestration like stacking LEGO bricks, assuming that if each individual sound is good, the combination will be too. But a real orchestra is a complex, physical system. Instruments don’t just add up; they interact, mask, and reinforce each other in a shared acoustic space. They are played by humans with physical limitations, whose performances are filled with subtle imperfections that create character.
The true key to unlocking lifelike realism lies in shifting your perspective. Instead of thinking like a programmer, you must think like a conductor and a mixing engineer combined, focusing on the sonic physics and psychoacoustics of the ensemble. This guide moves beyond the basic templates to explore the technical and artistic principles that transform a static MIDI mock-up into a dynamic, cinematic masterpiece. We will deconstruct the science of why certain instrument combinations work, how to build a believable three-dimensional soundstage, and how to simulate the very human element that makes music connect.
This article provides a deep dive into the specific techniques that professional composers use to make their digital orchestrations indistinguishable from the real thing. Follow along as we dissect everything from frequency management in the low end to the art of creating a unified room sound, giving you the knowledge to build arrangements that are not just technically correct, but emotionally resonant.
Summary: A Composer’s Guide to Lifelike Digital Orchestration
- Double Bass vs Cello: Creating Clarity in the Low End
- The Swell: Breathing Life into Static String Samples
- Cinematic Booms: Where to Place Drums in the Stereo Field?
- Mixing Wet and Dry Samples: Creating a Cohesive Room Sound
- Flute and Oboe Unison: Creating New Textures through Doubling
- Sibelius vs Dorico: Choosing the Right Notation Software
- Violin vs Cello: Knowing the Limits of Each Instrument
- The Arranger’s Art: Adapting Melodies for Different Instrumentation
Double Bass vs Cello: Creating Clarity in the Low End
One of the most common pitfalls in digital orchestration is a muddy, undefined low end. Composers often double the cello line with double basses an octave below, expecting to add weight and power. Instead, they get a confusing, boomy foundation that clouds the entire mix. The reason for this is not a failure of the samples, but a failure to account for acoustic physics. The problem lies in the harmonic series of the instruments. When a cello plays a C2, its fundamental frequency is around 65 Hz. When a double bass plays the C1 an octave below, its fundamental is at 32 Hz, but its strong second harmonic is also at 65 Hz, directly competing with the cello’s fundamental.
This overlap creates a significant frequency buildup, or masking, which robs both instruments of their definition. To solve this, you must engage in what engineers call frequency slotting: carving out a specific home for each instrument in the frequency spectrum. Instead of letting them fight for the same sonic territory, you assign them distinct roles. The double bass’s primary job is to own the sub-bass frequencies (roughly 30-80 Hz), providing the foundational weight. The cello’s role is to define the warmth and body of the low-mid range (80-200 Hz).
A powerful technique is to use complementary EQ. If you boost the cellos around 120 Hz to bring out their woody character, apply a corresponding gentle cut on the double basses in the same region. Even more effective is to use a high-pass filter on the cello section, cutting everything below 100-120 Hz. This may seem drastic, but it surgically removes the frequencies that are clashing with the basses, forcing the instruments to cooperate. The result is a low end that is both powerful and clear, where the rumble of the basses and the melodic growl of the cellos can be heard distinctly, creating a foundation of immense scale and clarity.
The Swell: Breathing Life into Static String Samples
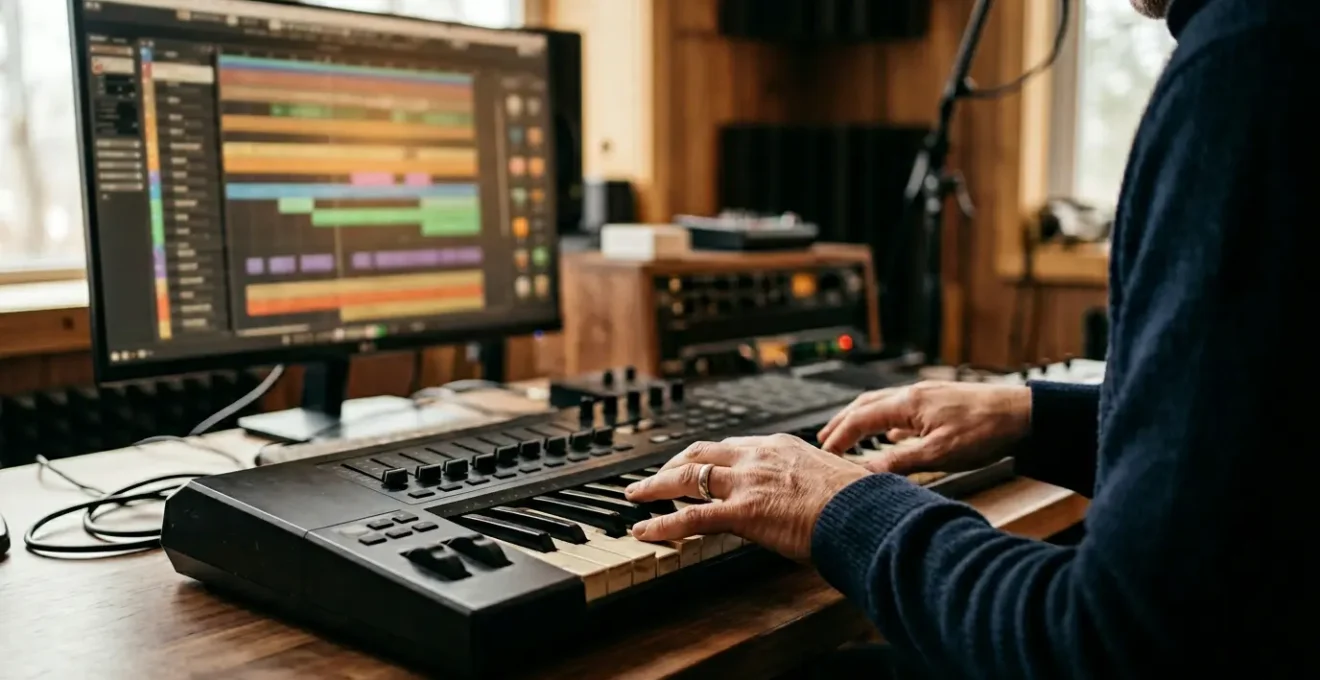
Nothing screams « MIDI » more than a static, lifeless string pad. A real string section is a living organism, constantly in motion. The most fundamental expression of this is the swell—the gradual increase and decrease in volume and intensity within a single note or phrase. While most composers know to automate CC#1 (Modulation) to control dynamics, achieving a truly realistic swell requires a deeper understanding of what is actually happening physically. It’s not just a linear volume change; it’s a complex interplay of bow speed, pressure, and position.
A real player initiates a note with a certain bow speed, then increases the speed and/or pressure to make the note louder, causing the timbre to become brighter and richer in harmonics. To program this, your automation curve for CC#1 should never be a perfect, straight line. It needs to be organic and slightly imperfect. A great swell starts gently, accelerates through the middle, and then eases into the peak before decaying. Think of it as a breath. Visualizing this gestural motion is key to programming it effectively.
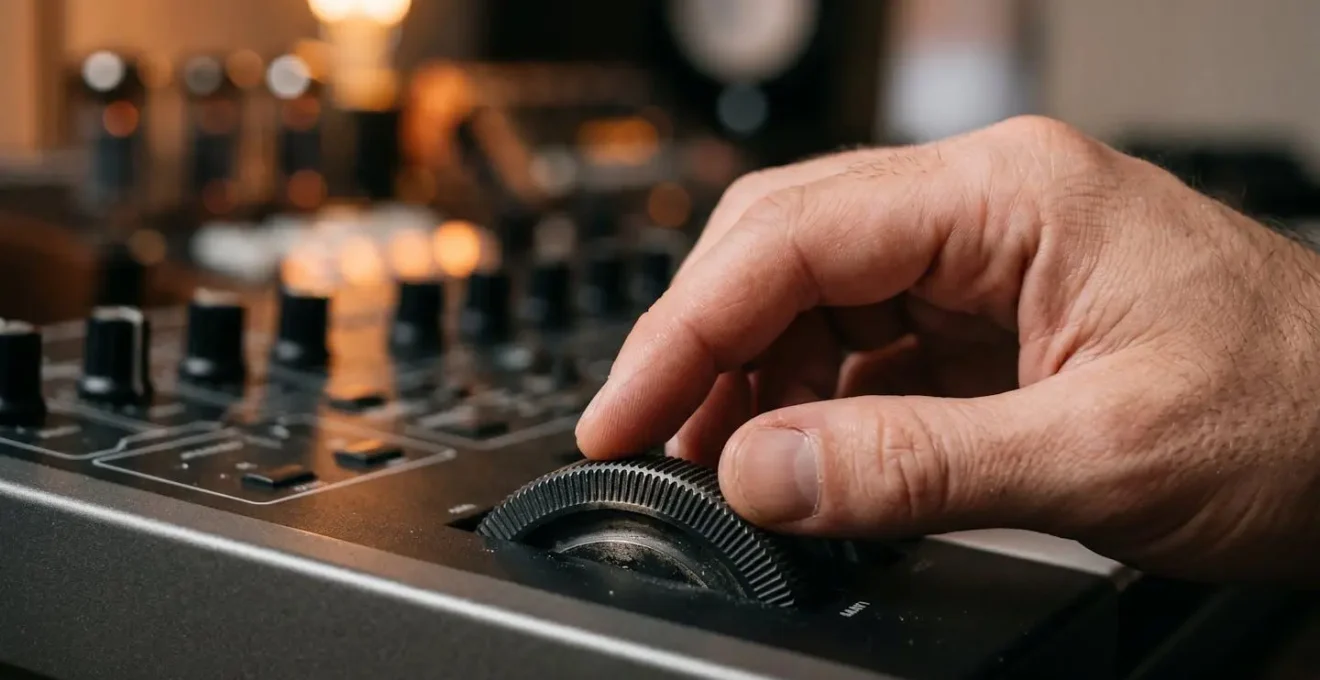
As the image above suggests, the act of creating expression is a tactile, physical gesture. To simulate this, try recording your swells in real-time using a physical mod wheel or fader. Your natural, human timing will introduce the subtle imperfections that bring a performance to life. Furthermore, don’t just automate CC#1. Many modern libraries map timbral changes to CC#11 (Expression). A powerful technique is to have CC#1 control the primary dynamic layer (from pianissimo to fortissimo) while using a slightly different, independent curve on CC#11 to control the overall volume. This decoupling allows you to create crescendos where the timbre gets brighter faster than the volume increases, a hallmark of an aggressive, emotional performance.
Cinematic Booms: Where to Place Drums in the Stereo Field?
In cinematic music, the low-end impact of percussion—the epic « booms, » taikos, and gran cassas—is paramount. A common mistake is to follow traditional orchestral panning rules too rigidly, placing these low-frequency instruments to one side of the stereo field according to their stage position. While this is technically « correct, » it can rob your track of the physical punch that modern film scores demand. The human ear perceives low frequencies as largely non-directional, and our playback systems (especially those with subwoofers) deliver the most power when low-frequency information is centered.
This is where we learn from top-tier mixing engineers. Their approach is often a hybrid one, blending orchestral accuracy with the demands of cinematic impact. This philosophy is often referred to as « cheating » the layout for maximum effect. A famous discussion among professionals highlights this exact technique:
Alan Meyerson as he likes to call it ‘cheats’ with the basses being panned in orchestral position (right) but moving some sub-frequencies to the center.
– Film score mixing discussion, VI-Control orchestral panning thread
This principle of psychoacoustic panning applies directly to cinematic drums. The solution is not to pan the entire drum hit to the center, which would destroy the sense of orchestral space. Instead, you use multi-band processing. The lowest frequencies of the drum (the sub-bass foundation, typically 20-80 Hz) should be kept completely mono and centered. This ensures maximum power and compatibility across all playback systems. The mid-range body of the drum (100-400 Hz), which gives it its size and character, can be panned slightly or spread moderately to give it a position in the room. Finally, the reverb tail and room sound can be processed with wide stereo imaging, creating an enveloping sense of scale while the core impact remains focused and powerful in the center.
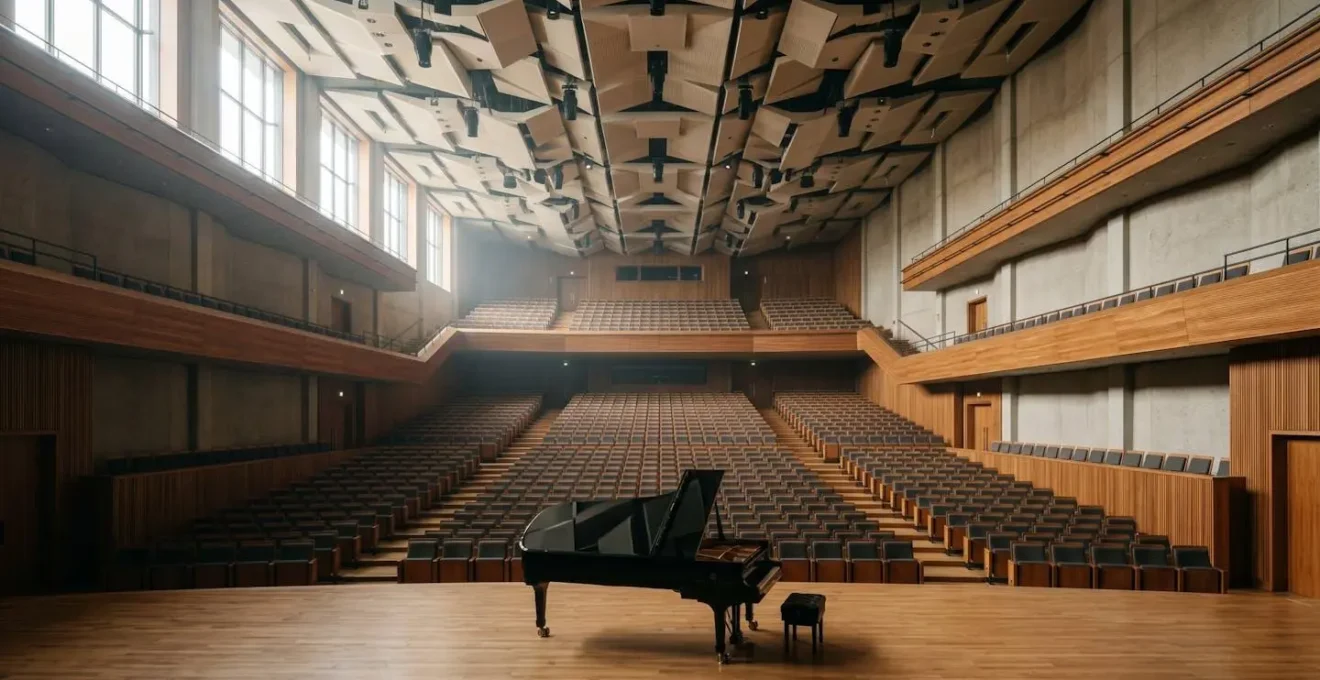
Mixing Wet and Dry Samples: Creating a Cohesive Room Sound
Perhaps the single most important element in making a digital orchestra sound real is creating the illusion that all 80+ instruments are performing together in the same physical space. This is often the biggest challenge, as different sample libraries are recorded in different halls, with different microphone setups. Mixing a « dry » library from one developer with a « wet » library from another often results in a disjointed, phasey sound. The secret is to create a single, unified acoustic fingerprint for your entire orchestra.
This involves stripping all samples down to their driest possible state (using only their « close mic » or « spot mic » positions) and then building your own room sound from scratch using reverb sends. Instead of inserting a separate reverb on each instrument track, a professional workflow uses two primary reverb busses. The first bus is for « Early Reflections, » using a short impulse response (IR) of a stage or small room. Every instrument is sent to this bus. Its job is not to create a tail, but to sonically « place » every musician on the same stage and provide the first cues for position and distance.
The second bus is for the « Reverb Tail, » using a lush, long hall algorithm or IR (2-4 seconds). This creates the epic scale and grandeur. The key to creating front-to-back depth is to manipulate the pre-delay on these sends. Front-row instruments like violins should have a longer pre-delay (30-40ms), meaning their dry signal is heard for a moment before the reverb kicks in. Mid-orchestra instruments (winds, brass) get a shorter pre-delay (15-25ms), and far-back instruments like percussion and choir get almost no pre-delay (0-10ms). This mimics how sound travels in a real hall, creating a convincing three-dimensional soundstage from a flat set of samples.
Your 5-Step Plan for a Cohesive Room Sound
- Strip to Dry: Start by using only the driest ‘close mic’ positions for all your sample libraries to create a neutral canvas.
- Bus 1 – Early Reflections: Create a « Stage » bus with a short room or stage Impulse Response (IR) to place all instruments in the same initial space.
- Bus 2 – Reverb Tail: Create a « Hall » bus with a long, lush hall algorithm (2-4s) for epic scale. Send varying amounts from each instrument to this bus.
- Sculpt Depth with Pre-Delay: Apply a pre-delay recipe on your reverb sends: more for front instruments (violins, 30-40ms), less for back instruments (percussion, 0-10ms).
- Final Cohesion Check: Listen to the mix in mono. If the reverb disappears or sounds strange, your « Acoustic Fingerprint » is not cohesive; adjust send levels and EQ on the reverb returns.
Flute and Oboe Unison: Creating New Textures through Doubling
Great orchestration is often an act of timbral alchemy—the art of blending instruments to create a new, composite sound that is more than the sum of its parts. One of the most classic and effective pairings is the flute and oboe playing a melody in unison. On paper, it may seem redundant, but in practice, it creates a unique and beautiful timbre that neither instrument can produce on its own. The reason this works lies in the distinct harmonic structures of the two instruments.
The flute has a strong, pure fundamental frequency (the core pitch) but relatively weak upper harmonics. This gives it a clear, « breathy » sound that can sometimes lack definition. The oboe, by contrast, has a thinner fundamental but is extremely rich in complex upper harmonics, which gives it its characteristic « reedy » and cutting tone. When you combine them, the flute provides the solid, foundational pitch, while the oboe « fills in » the missing upper harmonics, adding bite, definition, and character. This psychoacoustic principle is the foundation of much of orchestral color.
Psychoacoustic analysis of flute-oboe timbral combination
A psychoacoustic analysis of the flute-oboe combination shows that the pairing is successful because the flute is rich in fundamental frequency but lacks strong upper harmonics, while the oboe is rich in complex upper harmonics but has a thinner fundamental. When combined, the oboe fills in the definition and bite that the flute is missing, creating a complete and distinctive blended timbre that neither instrument possesses alone.
To make this doubling sound realistic with samples, you must introduce subtle imperfections. Never simply copy and paste the MIDI from the flute to the oboe. Instead, slightly delay the oboe’s MIDI track by 10-15ms to simulate the natural timing variations between two human players. Detune one of the instruments by a tiny amount (3-5 cents) to create a gentle, natural chorusing effect. For even more advanced realism, use different dynamic curves for each instrument. For example, during a swell, let the oboe’s dynamic (CC#1) rise slightly faster than the flute’s. This will create an evolving timbre that shifts from being more breathy at the start to more reedy at the peak of the phrase, a truly living sound.
Sibelius vs Dorico: Choosing the Right Notation Software
For the modern composer, the choice of notation software is as crucial as the choice of a DAW. It dictates workflow, speed, and the quality of the final score for live players. The two dominant forces in the professional world are Avid’s Sibelius and Steinberg’s Dorico. While both produce excellent results, they operate on fundamentally different philosophies, making the choice a deeply personal one. Sibelius, with its Microsoft Office-style ribbon interface, is often seen as more immediately intuitive, especially for those familiar with that design language. Its raw note input can be lightning-fast for experienced users.
Dorico, on the other hand, was built from the ground up by the original Sibelius development team and represents a more modern, context-aware approach. It has a steeper initial learning curve but excels in its intelligent, automatic formatting. It understands musical rules, automatically spacing notes correctly and handling complex rhythms without constant manual adjustment. This « notation-first » philosophy means that while initial note entry might feel slower, the time from sketch to beautifully engraved, finished part is often much shorter. This is backed up by sentiments from many professionals who have made the switch.
A key differentiator for the digital orchestrator is VST integration. Sibelius relies on « Sound Sets, » a system that can be clunky for mapping complex sample libraries. Dorico’s « Expression Maps » are a far more sophisticated and flexible system for assigning articulations and playback techniques, leading to more realistic default playback. Dorico’s playback engine also features a degree of AI, interpreting dynamics and phrasing more musically out of the box. Ultimately, the choice often comes down to your primary workflow: if you compose in a DAW and import MIDI for cleanup, Sibelius might be faster. If you compose directly in notation and value pristine engraving with minimal fuss, Dorico is likely the more efficient choice in the long run.
This detailed comparison from professional users offers a clear breakdown of the strengths of each platform.
| Feature | Sibelius | Dorico |
|---|---|---|
| User Interface | Ribbon interface (Microsoft Office style) – familiar and intuitive | Palette-based UI (creative software style) – steeper learning curve |
| Note Input Speed | Faster raw note input, especially for experienced users | Slightly slower input but faster to finished product with auto-formatting |
| VST Integration | Sound Sets – adequate but less powerful mapping system | Expression Maps – more sophisticated articulation/dynamics mapping |
| Playback Realism | Requires more manual MIDI tweaking for realistic playback | AI-driven interpretation of dynamics creates more musical default playback |
| Part Generation | Good but requires careful monitoring for consistency | Superior engraving engine with automatic part-linking features |
| Workflow Philosophy | Better for DAW-first composers who import from piano roll | Better for notation-first composers with flow-based design |
| Auto-formatting | Basic magnetic layout requires manual adjustment | Intelligent automatic spacing and rhythmic notation based on meter |
Violin vs Cello: Knowing the Limits of Each Instrument
To write convincingly for any instrument, virtual or real, you must understand its physical limitations. This is especially true for strings, where so much of the sound is tied to the mechanics of the bow. A common mistake for keyboard-centric composers is to write long, sustained fortissimo (FFF) notes that are physically impossible for a string player to execute. A player’s bow has a finite length, and holding a note at maximum volume for more than a few seconds is incredibly draining. Ignoring this « bow economics » is a dead giveaway of a MIDI composition.
As one expert on orchestral realism points out, simulating this limitation is crucial. This insight transforms how you approach sustained notes.
A long, loud (FFF) sustained note is physically draining and often impossible. Show how to program realistic ‘re-bows’ by creating tiny dips in dynamics (CC1) or using overlapping legato notes.
– Andrew Feazelle, How to Make an Orchestral Sample Library Sound Real
To program a realistic « re-bow, » you should create tiny, brief dips in the CC#1 automation every 4-6 seconds during a long note. This simulates the momentary release of pressure as the player changes bow direction. Another key limitation is agility versus register. A rapid 16th-note passage that is effortless for a violin may sound clumsy and muddy on a cello, especially in its lower register. The cello’s thicker strings simply don’t have the same response time. Therefore, you should avoid writing extremely fast string-crossing figures for cellos below C3. Understanding and respecting these physical boundaries is not a restriction on creativity; it is the very framework that makes your music believable.
Furthermore, exploit the « sweet spots » of each instrument’s range. The violin’s low G string has a husky, heroic quality, while its high E string can offer piercing brilliance. The cello’s A string has a soaring, vocal quality perfect for lyrical melodies, while its low C string should be used judiciously for power, not for fast passages. Writing *with* the instrument, not against it, is the essence of great orchestration.
Key Takeaways
- Clarity in the low end is achieved through « frequency slotting, » not just layering, by separating the roles of the cello and double bass.
- Realistic expression comes from imperfect, gestural MIDI automation that mimics the physics of a player’s performance (e.g., « bow economics »).
- A cohesive and believable orchestral sound depends on creating a single « acoustic fingerprint » using a unified reverb strategy.
The Arranger’s Art: Adapting Melodies for Different Instrumentation
The final layer of masterful orchestration is the art of arrangement itself—translating a musical idea from one context (like a piano sketch) to the vast color palette of the full orchestra. This is not a mechanical process of assigning notes; it is an act of emotional translation. The same eight-bar melody can evoke heroic grandeur, whimsical magic, or deep melancholy, based solely on the instrumentation chosen. A professional orchestrator thinks in terms of gesture and emotional equivalency. A sharp, staccato chord on the piano might translate to a punchy brass stab or a tight string pizzicato. A flowing piano arpeggio finds its orchestral equivalent in a sweeping harp glissando or a furious violin run.
This « color palette » approach is a powerful tool. In one famous demonstration, a simple melody was scored three ways: first with flute and glockenspiel, creating a magical, fairy-tale quality; second with French horns and celli in octaves, evoking heroic, cinematic warmth; and third with viola and English horn in unison, resulting in a nostalgic, introspective mood. The notes were identical, but the narrative was completely transformed by the timbral choices. Understanding these instrumental combinations is key to telling your musical story effectively.
For composers starting out, it can be daunting to know where to begin. A helpful approach is to think in terms of « translation, » as detailed in a foundational guide for digital orchestrators. This table provides a starting point for converting common piano textures into their orchestral counterparts.
| Piano Gesture | Orchestral Equivalent | Emotional Character |
|---|---|---|
| Staccato chord | Brass stab or String pizzicato | Punctuated, rhythmic energy |
| Flowing arpeggio | Harp glissando or Sweeping violin run | Elegant, cascading motion |
| Sustained chord | String pad with wind doubling | Warm, enveloping harmony |
| Tremolo figure | String tremolo or Flutter-tongue winds | Tension, anticipation, drama |
| Octave melody | Flute + Glockenspiel (magical), Horn + Celli (heroic), Viola + English Horn (melancholy) | Varies by instrumentation choice |
| Bass line | Celli/Basses with Bassoon/Contrabassoon reinforcement | Foundational, grounded support |
Ultimately, arranging for a digital orchestra is a craft that blends technical knowledge with artistic intuition. By moving beyond the default settings and thinking deeply about the physics of sound, the limitations of performers, and the emotional power of timbre, you can elevate your mock-ups from lifeless MIDI files to vibrant, breathtaking scores. Start applying these principles today, and listen as your music begins to breathe.
Frequently Asked Questions on How to Arrange for Orchestra Using Digital Libraries?
Should I compose in a DAW or notation software?
This depends on your workflow. If you primarily sketch ideas on a piano and build tracks layer by layer, a DAW (like Logic Pro, Cubase) is ideal. If you think in terms of a full score and need to produce parts for live players, notation software (like Dorico or Sibelius) is better. Many professionals use both, composing in a DAW for flexibility and then transferring the MIDI to notation software for cleanup and part generation.
How do I make my MIDI orchestra sound more « human »?
The key is to introduce subtle imperfections. Slightly vary the timing (quantization) and velocity of notes within a chord. Use organic, hand-drawn automation curves for dynamics (CC1) and expression (CC11) instead of straight lines. For doubled parts, slightly delay one track by 10-20ms and detune it by 3-5 cents to simulate the natural variance between two players.
What is the best way to learn orchestration?
Score study is the most effective method. Take a piece of orchestral music you love, find the full score, and listen while following along. Pay close attention to which instruments are playing, how they are combined, and what dynamic markings are used. Try to recreate short passages with your sample libraries to internalize the sound of those instrumental combinations.